


Whether you are just about to graduate college or considering retirement, it is never too late to pursue your dream job. And if that dream job is becoming a digital designer, consider yourself lucky.
Opportunities are endless. Inspiration, and resources are flooding the online community, and with each new project, you gain experience and a brand new set of skills. Remember though—practice is the key to everything.
You are probably wondering where and how to begin. Let’s start with the basics.
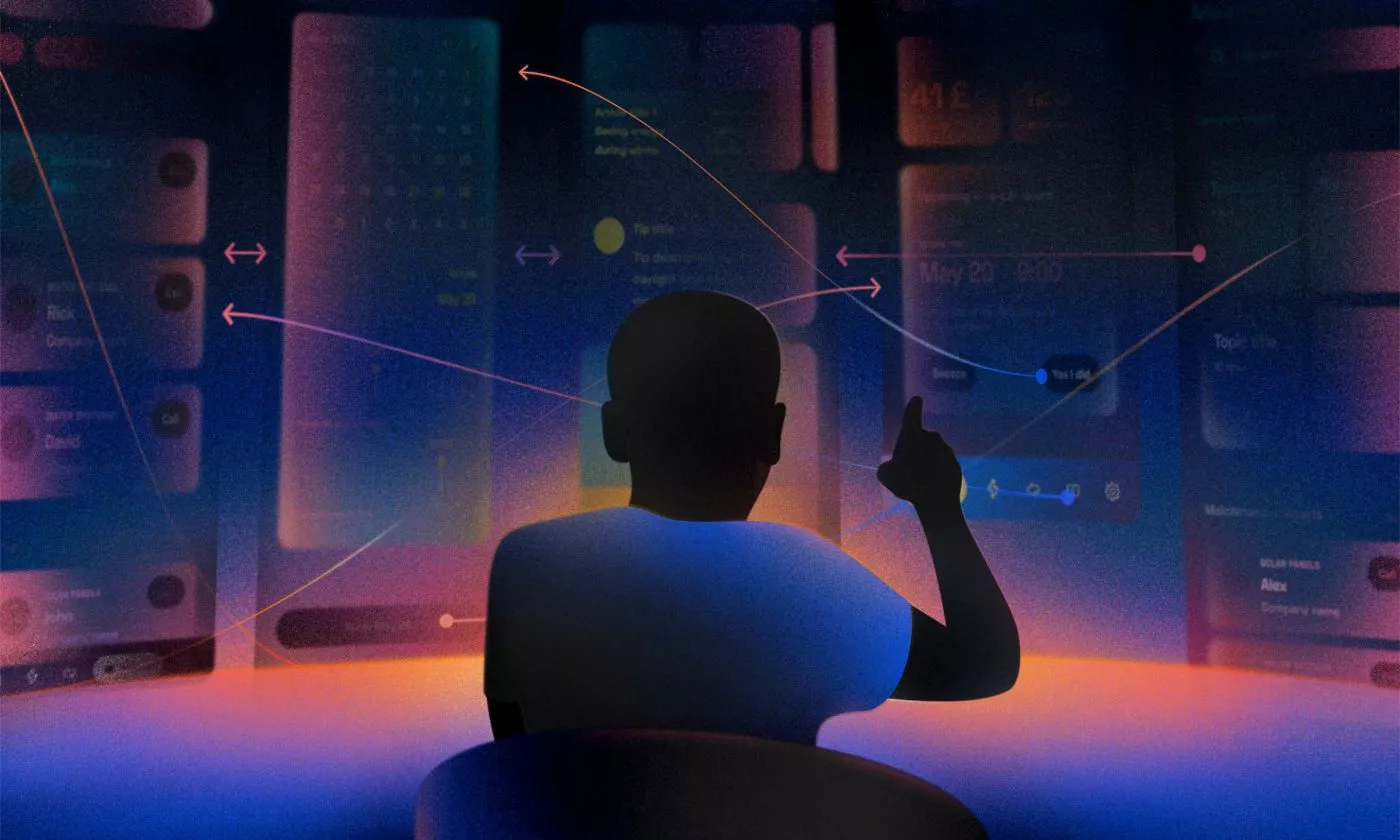
When it comes to UX/UI design, it takes understanding a whole range of human needs and behaviors. That’s because you are mainly designing experiences, where interactiveness plays a considerable part.
So let’s go over some basic UX/UI principles.
Basic UX/UI principles
UI (User Interface) represents a space where interactions between humans and machines occur. UX (User Experience) revolves around the steps and the journey a user has to go through when completing a certain task–and how they feel while doing so. People usually overuse those terms without properly giving credit to their meaning.

User experience
The design of user experience should always come before designing all the visual elements. To create valuable experiences, you need to understand your users and their needs. To do that, you conduct research and collect data of your users as well as all the necessary information about the digital product you will be making.
With collected data in mind, you list down all the screens you will need in your product. Then, in the form of a flowchart, you connect them in the way they should naturally follow one another. To each screen, you add attributes. One example of this is a profile screen that could contain a photo, user name, edit option, settings, friends list… it all depends on the product requirements. After you know how those screens are connected and what elements they should have, you can start designing wireframes.
Wireframes are usually drawn with basic shapes, without colors and visual details, as the focus should be on the product’s functionality. It is advisable to create a prototype of your wireframes and give it to a group of target users to test it out. Testing out the flows you designed will give you a great amount of valuable feedback and reveal the exact user needs.
Laws of UX, created by Jon Yablonski, is a great reminder to have while designing user experiences and interfaces. He states there are 20 different laws in UX practice. But don’t worry, it sounds much scarier than it is. Laws are shown as visuals with just a couple of words giving it context.
The next piece that will come in handy is this in-depth article about the Principles of Mobile App Design by Google. It shows the five chapters that you need to cover to understand some basic app principles. What I like the most about it is that you have dos & don’ts examples pointed out, telling you why some method is good, and why another one is not. It is a very insightful article, and I highly recommend it.

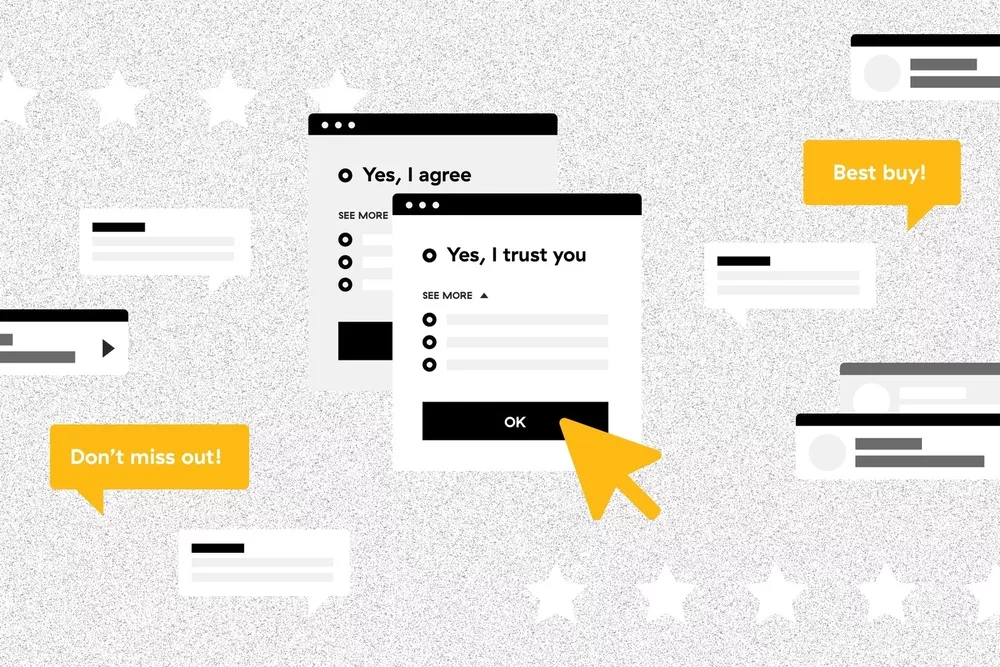
User interface
After you have your wireframes in place, it is time to give them a nice visual makeover. UI is a vital part, as it creates the tone of the product and the overall look and feel of the brand. But UI also serves to UX, as with color, shape, and typography you can easily point out the main information to the user.
However, UI doesn’t necessarily have to be visual. Take Alexa, for example—there is no visual interface, as all the input you give to the machine is done via voice. But on the visual note, some of the basic UI elements are nicely listed in this article by Career Foundry.
What is important to keep in mind when designing is the platform you are designing for. Material design is a design language developed by Google, mainly used by Android platforms. You can’t continue designing for screens if you haven’t read Material design. It comes very handy in understanding the visual and physical behavior of UI elements. However, if you are designing for Apple devices, then Human interface Guidelines are another must-read. In fact, both are a must-read and will give you a very solid background on understanding screen design.
Now we got some basics covered, sit back and relax as we reveal which tools you should know about.

Sit back and hear out the more experienced
Essential tools for a digital designer
There is an ocean of tools already available, and each new year, new ones are surfacing. It’s a fact of life—and the beauty of the industry—that the software industry is continually evolving. Something you knew a couple of years back might easily be outdated today.
Tools, as we knew them yesterday, may surprise us with a ton of new features tomorrow. The upside is that everything is easily adaptable. Once you get used to a tool or a method of working, you won’t be able to work any other way.
Software design and development are mainly done in the agile environment, where collaboration between all the parts of the team is the key. And all the tools used in the software industry try to keep up with those demands.

Basic design tools
These are products you will use for designing screens of your digital product.
Oh, the Sketch almighty. Designing for screens has never been the same since Sketch came to life. The whole interface is simple, elements reusable, text and layer styles easily changeable. You can also create a clickable prototype in it and there are a bunch of plugins that make your life easier. Check out Emanuel’s article. As of July 2019, Sketch introduced Sketch for teams, which made it a collaborative tool for sharing designs and prototypes with more people from the team. However, Sketch can only work on macOS.
Collaboration possibility is precisely what Figma had way before Sketch. Everyone from the team can see the designs and comment on them. Developers can export assets (icons, images, colors, etc.) It’s even possible to store different versions of your files as you regularly update it. But to start as well as to save changes to Figma, you do need to be online.
This software was Adobe’s response to the need of a dedicated tool for web and app design. Before, the Adobe users were struggling to design websites in Photoshop and Illustrator. Funny, right?
Invision + Invision Studio
Invision is a well-known tool used for interactively showing your design. You can connect a screen in a clickable prototype and it comes handy when presenting solutions to your client, or you can even use it for user testing. At the beginning of 2018, Invision launched Studio – a platform for designing, prototyping, and animating designs.
Another all-in-one platform. You can design and create wireframes, share prototypes and collaborate with all team members.
An interactive design tool, where you have premade components and an easy interface. Framer also allows you to collaborate between teams and create prototypes.
This one is relatively new and is still in its beta version. Like all the listed tools so far in this one you can also design and prototype, but comes with an advanced animation feature.

Tools that go hand in hand with the list above
These are the tools all graphic designers know about. Once you decide to broaden your field of expertise by stepping into digital design, keep them close.
Photo editing tools
When it comes to photo editing, you can not do it proper justice using the tools mentioned above. The industry standard for photo manipulation is still Photoshop. However, Affinity Photo comes as a very solid competitor, at a much lower price.
Illustration tools
Handling illustrations kind of works the same. For every major illustration task, logo creation, icons, etc. Illustrator is your friend.
And then again, we have its competitor Affinity designer, which comes with a feature to quickly switch from vector to pixel-based editing.
My recent discovery and one I’m sure many illustrators today can’t live without is Procreate. It’s a fantastic tool that features a straightforward interface and contains natural drawing gestures with an Apple pencil with a lot of control over it. Downsides are it only exists within the iPad and it is not a vector tool.
Animation tools
We don’t want to forget the tools for animating, which makes all the interactions meaningful. Principle is a great tool to set transitions between screens quickly. You simply import a screen from either Sketch or Figma. If you want to animate more complex stuff, After effects is the way to go. You use it for animating an illustration or other graphic motions and export your animation via Lottie plugin to the developer.

Design versioning and exporting tools
A well-known meeting point between developers and designers. As a designer, you export your screens to Zeplin and developers have everything they need in order to implement your designs. It also supports version control so that you can see all the uploads of the same screen in time.
This is a known version control tool for your Sketch design files. Versioning, meaning saving every step of your everlasting changes in the file, is a must in the software industry. You can easily access your designs from months ago and revert what you need. It is also possible for developers to export assets they need.

Tools for making wireframes, screen flows and sitemaps
Creating user experiences requires knowledge about information architecture, what screens your product will have, their attributes, and how those screens will be connected. In order to do so, you create sitemaps, flowcharts, user personas, user journeys and wireframes.
This is a powerful tool where you can create flowcharts and design wireframes, use sticky notes, and make system maps.
This is a dedicated sitemap builder tool. Sitemaps are used to connect all the screens in a diagram-sort-of way. It is a good tool for you as a designer to know the structure of your digital product, and it comes in handy for all team members.
Your basic tools for doing low-fidelity wireframes are always a piece of paper and a pen. However, you can also download templates like these for different platforms to sketch on.
This tool looks exactly as you would picture wireframes to be. All black & white and the lack of color places focus to product’s functionality.
An easy-to-use tool to organize your ideas and projects into visual boards. You can also create user journeys and sitemaps in here. It is great for visually setting your project up and works as a collaborative tool as well.
This is a tool where you can create user journeys, personas and empathy maps. It is used as a visual collaboration platform to share ideas and communicate across the team.
This is a useful plugin tool that works for Sketch and Figma. You can connect screens and create flowchart diagrams easily.
You can import screens from Zeplin, Figma or Adobe XD and connect them in Overflow and show the flows to your client in a very organized and neat way.

Tools for testing design
Nothing will get you on the right track as getting feedback from someone who is using your product.
You can do a real-time, remote moderated testing or let the users complete tasks in their own time. This platform allows you to interview users from anywhere in the world, record them, create highlights, take timestamped notes, and many more.
Similar to Lookback, it allows you to see, hear, and talk to your users as they are engaging with the product. It allows you to get real-time feedback and share your learnings across the team.
So this is the end…or is it?
If you thought for a second this was all, you’re not even close. I will tell you, there are even more tools out there. However, you don’t need to know or work in all of them, we covered you with some essentials so you can take the combination that works best for you. It can even be just one tool that suits your needs.
Take some time for the new information to sink in. These tools will be of help as you brush up on your design skills, but the key to your success lies in the tools you already possess—your persistence and practice. Start working on some self-made projects, join design challenges, and if you see an opportunity for a real project–grab it. (Spoiler alert: There will be a MAJOR opportunity in the next paragraph.)
We’ll teach you all this and more at Infinum Academy Design course
Speaking of grabbing opportunities, there is one you don’t want to miss.
We are organizing Infinum Academy Design course, an 8-week long course during which designers-to-be go through the whole UX/UI process of building a digital product with a user-centered design approach.
If you still find yourself feeling a bit lost with all the new information and terms such as sitemaps, user flows, and journeys, empathy map and all other–don’t worry, because it will all fall into place at Infinum Academy.
You’ll also gain hands-on experience in designing a modern mobile app. By the end of Infinum Academy, you’ll have the skills necessary to design both for mobile and web, and a project you can proudly present in your portfolio.

You’ll also get a cool graduation cap