


Security has always been a crucial part of mobile development, and getting it right is no small feat. Smartphones started out using 4-digit PIN codes that took 10,000 tries at most to crack. Then came the lock pattern that raised the bar to astonishing 389,112 distinct patterns, although basic human nature drastically lowers this number.

Unlike PINs and lock patterns, fingerprint authentication is light-years ahead. One’s fingerprint is truly unique and cannot be guessed. This technology is becoming increasingly popular on consumer devices, and with Marshmallow it’s easier than ever to implement it in your app.
Then
Apart from iOS Touch ID which we already wrote about, early implementations of fingerprint scanning on Android were not adequate. Every vendor had their unique approach to security and implementation of the process and, most importantly, to how the user’s private data is stored.
Now
With Marshmallow came the long awaited native support for fingerprint authentication via a standard API. Android developers were finally allowed to implement fingerprint-based authentication for unlocking devices, Play Store and Android Pay purchases, as well as providing custom authentication in security-heavy applications like mobile banking.
First made available on the Nexus 5X and Nexus 6P, Google introduced the fast and secure Nexus Imprint fingerprint sensor which also brought along the first implementation of the Android 6.0 Marshmallow fingerprint sensor API. Fingerprints are recognized in less than 600 milliseconds, providing fast and comfortable user experience.
Fingerprint storage security
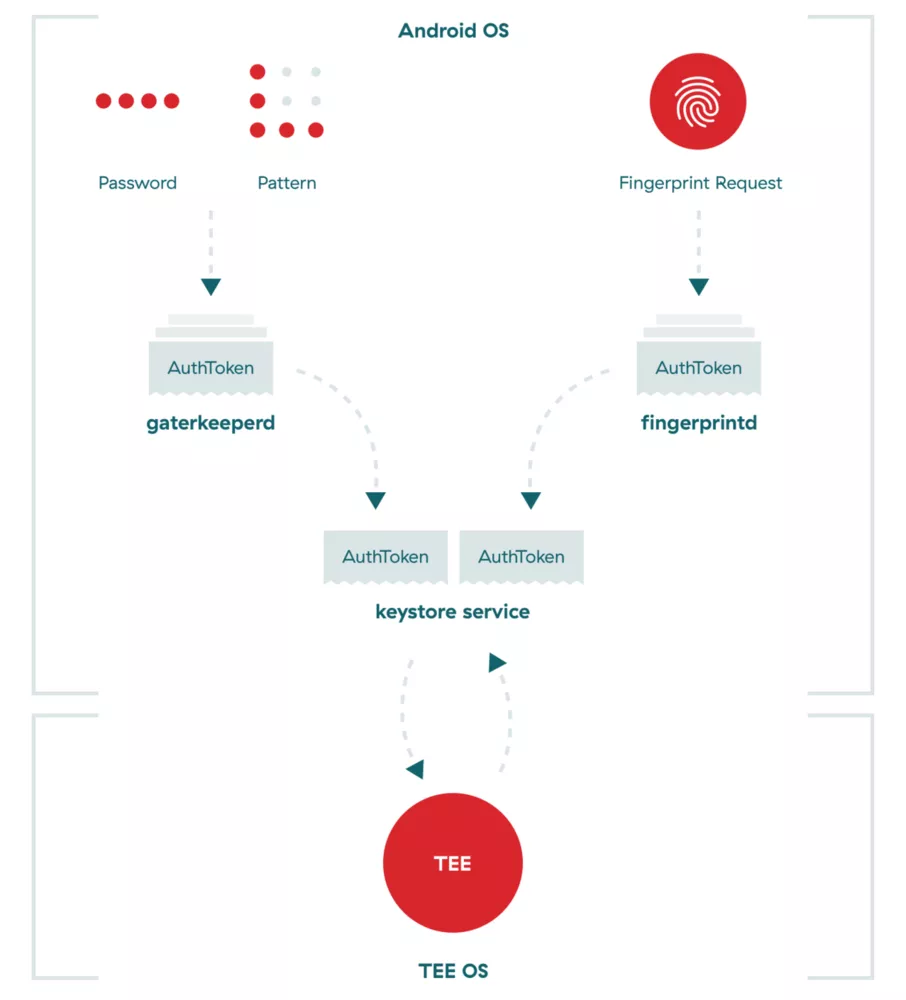
Most storage strategies on Android are insecure, especially when you consider the possibility of root access. But Google has made a noteworthy step in the right direction by moving all print data manipulation to the Trusted Execution Environment (TEE) and providing strict guidelines for fingerprint data storage that manufacturers must follow.
TEE
TEE is a secure area of the smartphone’s main processor. It guarantees confidentiality and integrity of the code and data loaded inside. This separation enables security and protection from hacks, malware and root access.
- All fingerprint data manipulation is performed within TEE
- All fingerprint data must be secured within sensor hardware or trusted memory so that images of your fingerprint are inaccessible
- Fingerprint data can be stored on the file system only in encrypted form, regardless of whether the file system itself is encrypted or not
- Removal of the user must result in removal of the user’s existing fingerprint data
- Root access must not compromise fingerprint data
Fingerprint templates
Fingerprint templates are the processed versions of raw fingerprint data. In order to comply with guidelines they must be cryptographically authenticated. This means they have to be signed with a private, device-specific key and enough additional data (an absolute file system path, finger ID and group) that will unequivocally define their binding relationship. As a result, these templates are rendered useless if copied to another device or another user tries to use them.
Finally, fingerprint data is not backed up to the user’s computer or Google’s servers. It is not synced, shared or used by any other app on your device nor does it ever leave your device. The only information apps receive is whether a fingerprint has been verified or not. This also means the user has to set up fingerprint authentication on each new device.
Sounds good, how do I implement it?
Fingerprint authentication in nothing more than data encryption. It involves a key, a cipher that performs encryption, and a fingerprint manager that handles the whole process. From a developer’s standpoint, the process is somewhat extensive but it consists of relatively simple steps.
1
Request fingerprint authentication permission within the project’s AndroidManifest file.
2
Enable any lock screen security mechanism (PIN, pattern or password).
3
Register at least one fingerprint on the device.
4
Create an instance of the FingerprintManager.
5
Use a Keystore instance to gain access to the Android Keystore container.
6
Generate an encryption key using the KeyGenerator class and store it in the Keystore container.
7
Initialise an instance of the Cipher class using the previously generated encryption key.
8
Use the Cipher instance to create a CryptoObject and assign it to the instantiated FingerprintManager.
9
Call the authenticate() method of the FingerprintManager instance.
10
Handle callbacks on completion of a successful authentication, providing access to protected content or functionality.
Android’s fingerprint authentication and backing implementation have been designed and executed really well. Using it as a possession element of any form of multi-factor authentication is more than enough to provide you with a fast, reliable and secure authentication experience.
You can hear us talk about fingerprint security and best practices in app security at the 360andev conference in Denver, CO.
So where’s the catch?
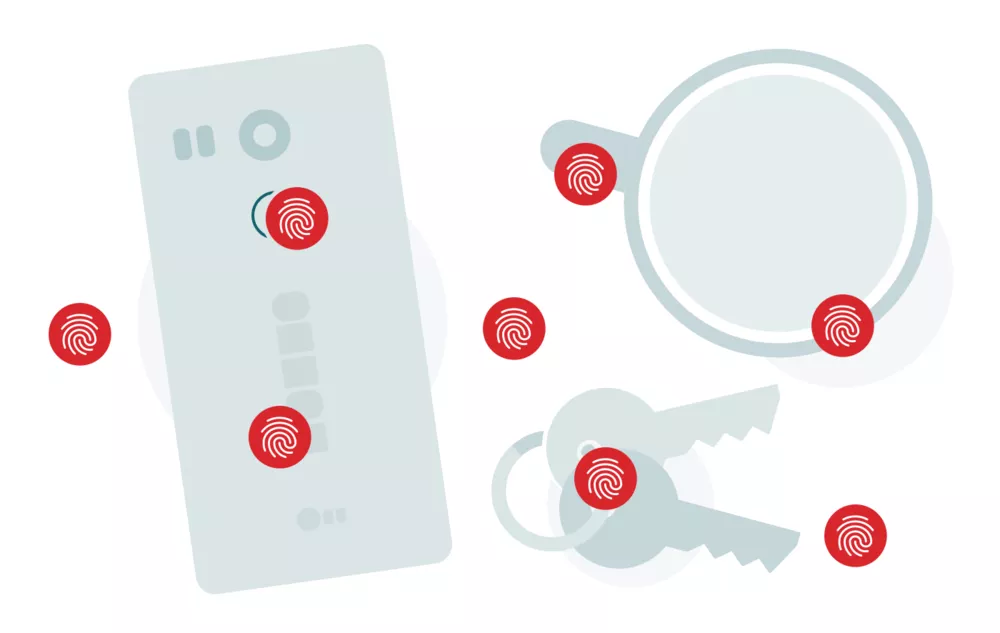
There is only one and it’s basically the same flaw all other methods have; fingerprint authentication has a single point of failure. As attractive as using your fingers for unlocking your device is, you leave them everywhere. A prospective attacker can lift your fingerprint without much hassle, and then use it to get control of your device and apps.
Unfortunately, unlike passwords, your fingerprints are something you obviously cannot change.